The usual process for creating websites on Dreamweaver and then making them available to visitors on the World Wide Web is:
create a working version of the website on your local computer (e.g. a PC or Mac) using Dreamweaver.
create a link to a server computer to which the website on your local computer can be transferred to make it accesssible on the World Wide Web
for as long as the website exitsts, do the following steps
1. make modifications to the website on your local computer using Dreamweaver
2. use Dreamweaver to upload the modified website from your local computer to the server computer
The sever computer is one that has software (server software) that allows others to use a browser (e.g., Firefox) to access your website. This page describes how to set Dreamweaver up to transfer your locally modified website to the server we use. Dreamweaver uses the term "publish" to describe this transfer.
Here are the steps to follow to set Dreamweaver up to publish to your hypertextbook server site, hosted at hypertextbookshop.com.
We assume that you already have a local Dreamweaver working version of your website on your computer.
Bring up Dreamweaver on your local computer and open the website of your hypertextbook. At the top of the Dreamweaver panel, click on Site > Manage Sites... You will see this panel (without the form fields filled in). Fill in the form fields exactly as shown. When finished, click the "Next" button at the bottom of the panel.
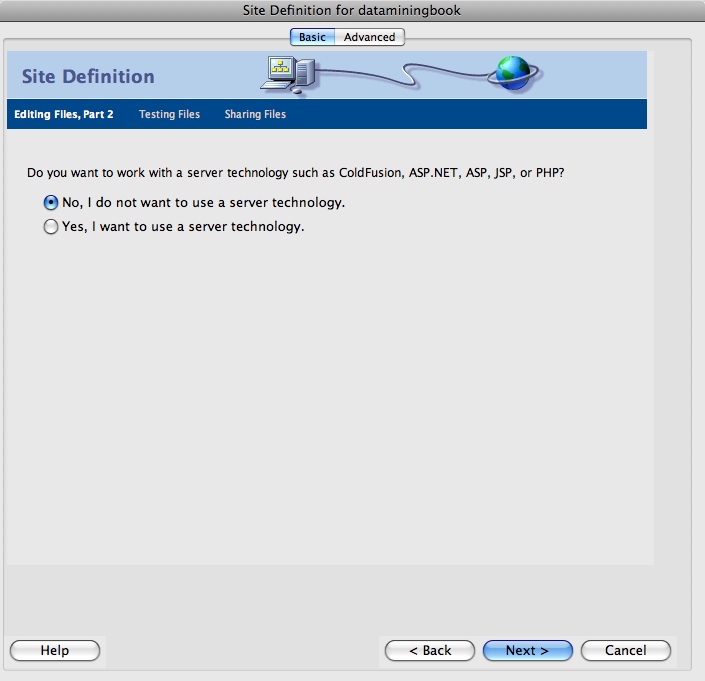
After clicking the "Next" button in the panel above, you will see the panel below. Ensure that the same radio button as shown below is selected in your panel. Then click the "Next" button at the bottom of the panel.
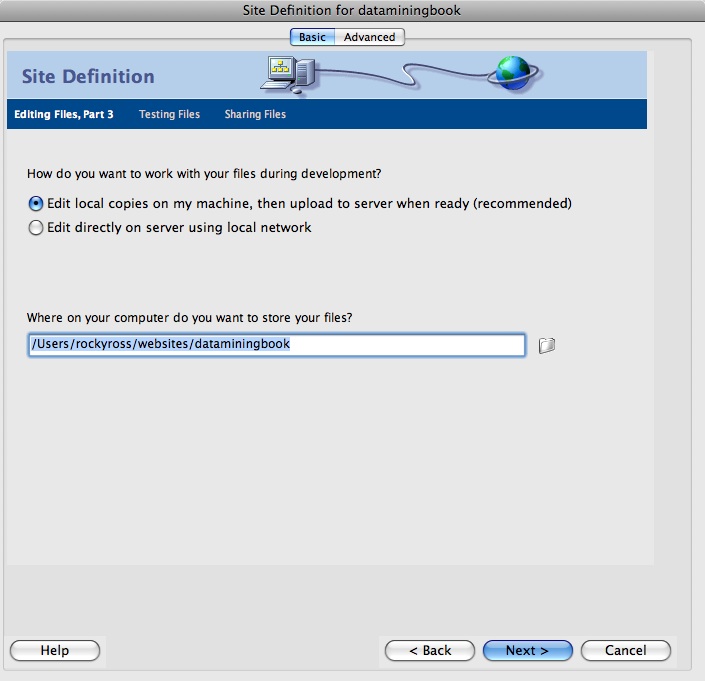
After clicking the "Next" button in the panel shown above, the panel shown below will appear. Do the following:
When finished, click on the "Next" button at the bottom of the panel.
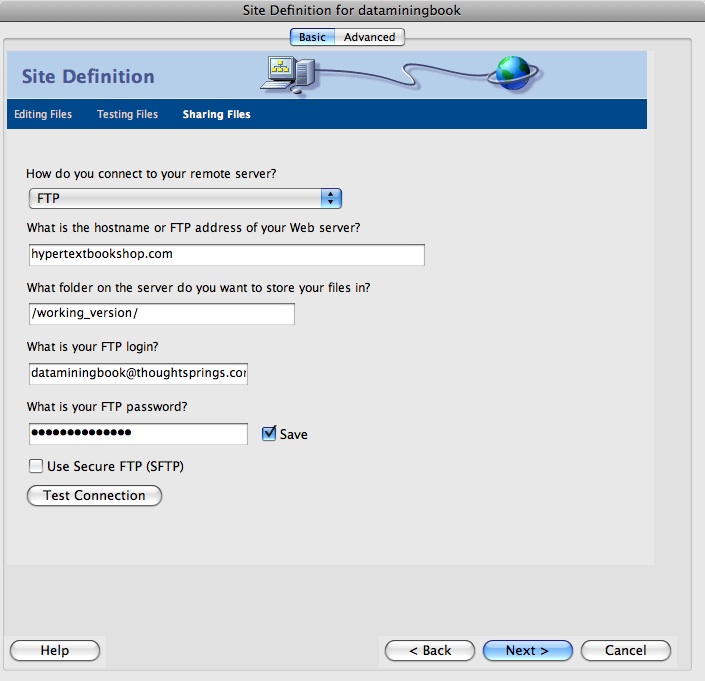
After clicking the "Next" button in the panel shown above, the panel shown below will appear. Fill in the form fields exactly as shown. Use the FTP login and FTP password supplied to you in an e-mail. These are necessary to allow the server computer to determine that you are authorized to make the transfer of your local website to the server computer.
Once you are finished filling in the form fields, to be certain that you have set this publishing information up properly, click on the "Test Connection" button near the bottom of the page. If a message pops up letting you know that Dreamweaver has successfully connected to your server, you are finished with this process and should only need to do it again if you change servers. If you get an error message, retrace your steps to be sure you have done everything properly (especially in this panel). If that does not help, contact Rocky Ross by e-mail.
Whether or not Dreamweaver is successful in connecting to the server, you should continue this process to the end, so that you do not have to fill all form fields in again as your problems are resolved. To continue, click the "Next" button at the bottom of this panel.
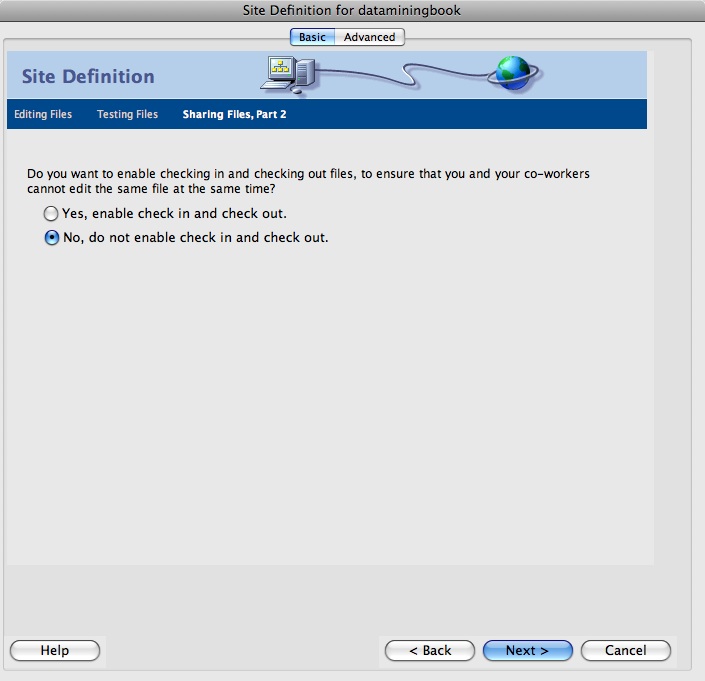
After clicking the "Next" button in the panel shown above, you will see the panel shown below. Ensure that the same radio button as shown below is selected in your panel. Then click the "Next" button at the bottom of the panel. Note: if you are familiar with Dreamweaver and your website creation is a team effort, you may want to enable check in and check out. This has nothing to do with publishing your site to the server.
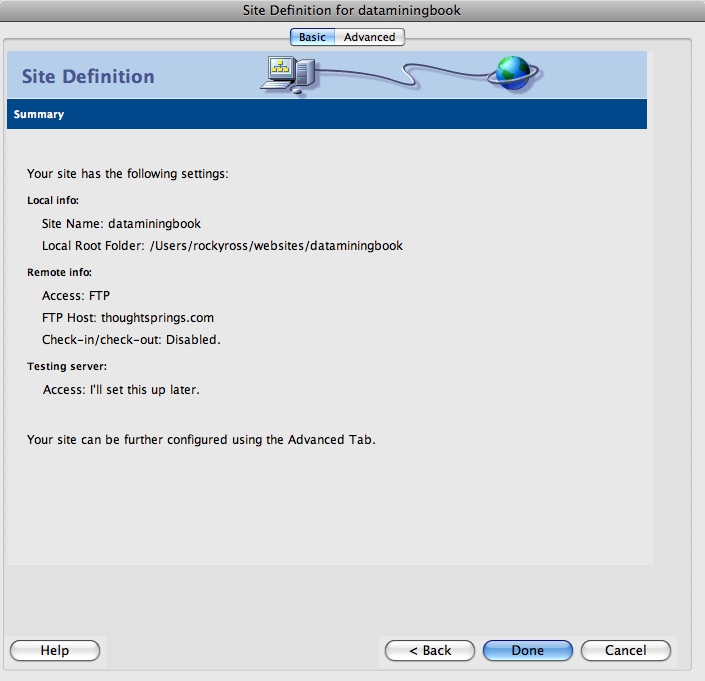
After clicking the "Next" button in the panel shown above, you will see the panel shown below. This panel is the last panel and simply summarizes the settings you have selected during this process.